Short answer: measurement uncertainty evaluated using techniques other than the statistical analysis of measurement or test results.
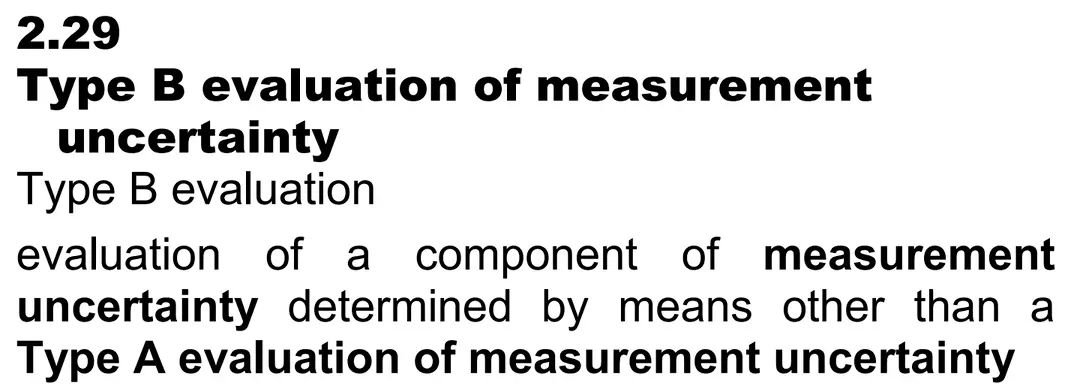
According to the Vocabulary in Metrology, Type B evaluation of measurement uncertainty is an “evaluation of a component of measurement uncertainty determined by means other than a Type A evaluation of measurement uncertainty.”

Example
Examples of a Type B uncertainty include:
- Drift – change in value over time.
- Bias – error in value by comparison to a nominal or reference value.
- Linearity – deviation in value from straight line behavior.
- Hysteresis – deviation in value when operating in different directions.
- Resolution – smallest incremental change in a value.
- Reference Standard Uncertainty – uncertainty related to the comparison to a reference standard (i.e. calibration).
- Environmental Effects – uncorrected uncertainties related to environmental conditions and influences.
- Method-Specific Uncertainties – uncertainties related to the method or technique used to perform testing or calibration.
FAQ
What’s the difference between Type A (statistical) and Type B (non-statistical) evaluation?
Believe it or not, the answer is in your question.
According to the JCGM 100:2008 and Recommendation INC-1 (1980),
- Type A evaluations are evaluated by statistical methods (e.g. estimated variances)
- Type B evaluations are evaluated by other means (e.g. priori knowledge, assumptions, or arguments).
Type A evaluations use statistical techniques to evaluate uncertainty such as the standard deviation of a series of observations or the standard error of the estimate for a curve fit model.
Type B evaluations determine the uncertainty by means other than statistical techniques such as manufacturer specifications, calibration results, or reference data even if the estimated quantities correspond to variances and are treated like standard deviations.
What are examples of Type A evaluations?
Examples of a Type A uncertainty include:
- Repeatability – variation in results under similar measurement conditions
- Reproducibility – variation in results under different measurement conditions
- Stability – variation in results over time
- Calibration Curve Fit – standard error of the estimate for a curve fit prediction model.
What are examples of Type B evaluations?
Examples of a Type B uncertainty include:
- Drift – change in value over time.
- Bias – error in value by comparison to a nominal or reference value.
- Linearity – deviation in value from straight line behavior.
- Hysteresis – deviation in value when operating in different directions.
- Resolution – smallest incremental change in a value.
- Reference Standard Uncertainty – uncertainty related to the comparison to a reference standard (i.e. calibration).
- Environmental Effects – uncorrected uncertainties related to environmental conditions and influences.
- Method-Specific Uncertainties – uncertainties related to the method or technique used to perform testing or calibration.
How are Type A and B uncertainties combined?
Type A and Type B uncertainties are converted to a standard deviation equivalents (i.e. standard uncertainty) and combined using the square root of the sum of squares formula (i.e. RSS method) per the JCGM 100:2008.
Glossary
- Measurement Uncertainty
- non-negative parameter characterizing the dispersion of the quantity values being attributed to a measurand, based on the information used. (Source: JCGM 200:2012, 2.26)
- Instrumental Drift
- continuous or incremental change over time in indication, due to changes in metrological properties of a measuring instrument (Source: JCGM 200:2012, 4.21)
- Instrumental Bias
- average of replicate indications minus a reference quantity value (Source: JCGM 200:2012, 4.20)
- Measurement Bias
- estimate of a systematic measurement error (Source: JCGM 200:2012, 2.18)
- Non-Linearity
- maximum deviation of an output from a specified straight line (ideal linear transfer function) over a specified dynamic or measuring range (Source: ISO 7066-2, ISO 11843-5)
- Hysteresis
- maximum difference in measurement output for a specific input value when that value is approached first with increasing, and then with decreasing, input (Source: ASME B40.100)
- Reversibility
- difference in the output signal (deflection) of a force-proving instrument between increasing and decreasing force applications at the same load step (Source: ISO 376)
- Resolution
- smallest change in a quantity being measured that causes a perceptible change in the corresponding indication (Source: JCGM 200:2012, 4.14)
- Reference Measurement Standard
- measurement standard designated for the calibration of other measurement standards for quantities of a given kind in a given organization or at a given location (Source: JCGM 200:2012, 5.6)